Creating a Python virtual environment for developing QGIS plugin with VS Code on Windows#
Introduction#

Anyone who has tried it, knows that configuring a Python, PyQGIS, and PyQt environment on Windows for developing QGIS plugins is a real challenge. Often, it feels like a losing battle...
Well, not anymore! After scouring the depths of the internet and exploring tips provided by Julien, here is one method to have (almost) all the auto-completions for PyQGIS, PyQt and more in VS Code.
Creating the Virtual Environment#
I will assume that you have installed QGIS in the C:\OSGeo4W directory (the procedure is the same whether QGIS is installed via the OSGeo4W network installer or the MSI package; the paths in this article just need to be adapted to your installation).
-
Open an OSGeo4W Shell and navigate to the location where you want to create the virtual environment.
For example, a freshly created plugin template using the QGIS Plugin Templater. -
Run the following commands:
Creating a virtual environment in the OSGeo4W ShellC:\OSGeo4W\bin\python-qgis.bat -m venv --system-site-packages .venv C:\OSGeo4W\bin\python-qgis.bat -c "import pathlib;import qgis;print(str((pathlib.Path(qgis.__file__)/'../..').resolve()))" > .venv\qgis.pthThe
--system-site-packagesoption allows the virtual environment to inherit libraries specific to the Python environment in QGIS. -
To ensure VS Code recognizes
processingimports, add the following line to the.venv\qgis.pthfile:
C:\OSGeo4W\apps\qgis\python\pluginsYour file should look like this:
Make sure the encoding of the
.venv\qgis.pthfile is set to UTF-8. -
Create a
sitecustomize.pyfile in the.venv\Lib\site-packagesfolder with the following content: -
In the
.venv\pyvenv.cfgfile, modify the occurrences ofC:\OSGeo4W\bintoC:\OSGeo4W\apps\Python312:
With the qgis-venv-creator utility#
Paragraph added in March 2025

Just after this article was published, we discovered the create-qgis-venv project by GispoCoding.
It is a multi-platform command-line tool (CLI). It is recommended to install it using pipx, which handles most of the tricky setup and is compatible with Windows. It's now the recommended tool in the Python community for managing command-line tools (CLI), so this is a great opportunity to start using it. Once pipx is installed, configured (ensurepath...), and a new PowerShell session is started, the installation runs smoothly:
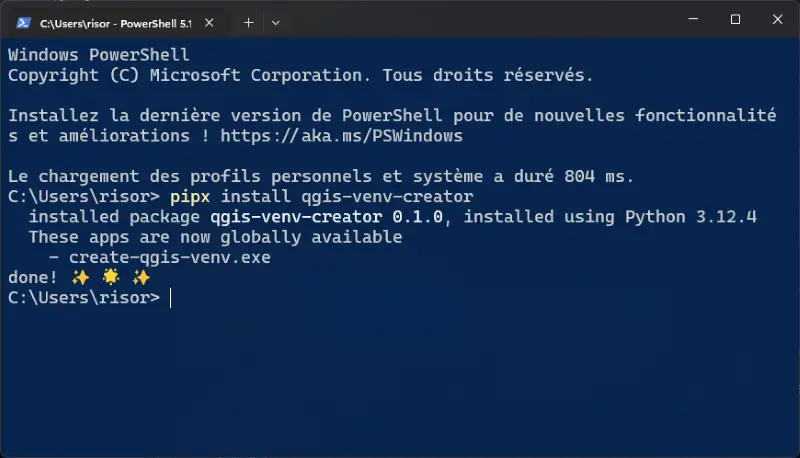
The qgis-venv-creator tool is now accessible from any PowerShell session with the following command:
The tool needs to identify the QGIS installation to use for generating the development environment. By default, it searches in C:\OSGeo4W and C:\PROGRAMFILES\QGIS X.y.z. However, if you are meticulous and use QGIS in a professional environment, you probably install it in a location recommended by the operating system, such as %PROGRAMFILES%/QGIS/X_y. You can specify a pattern to indicate where it should look:
create-qgis-venv --qgis-installation-search-path-pattern "C:\Program Files\QGIS\*\apps\qgis*" --venv-name ".venv"
Simply activate your virtual environment .venv/Scripts/activate and continue this tutorial!
Thanks, Gispo!
Tip
Good news, it does also work on Linux 🥳 🐧!
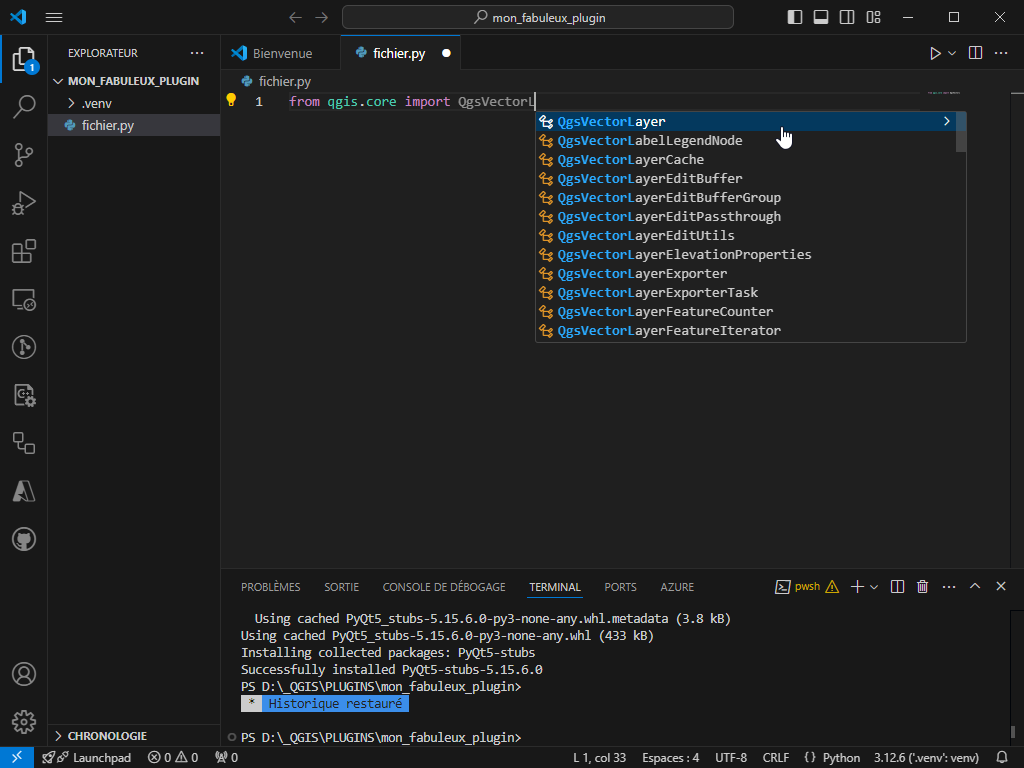
In VS Code#
If you open VS Code in the folder where you just created the virtual environment, VS Code will automatically detect the environment (otherwise, install the VS Code Python extension), and as you type code, VS Code will suggest PyQGIS objects or methods.
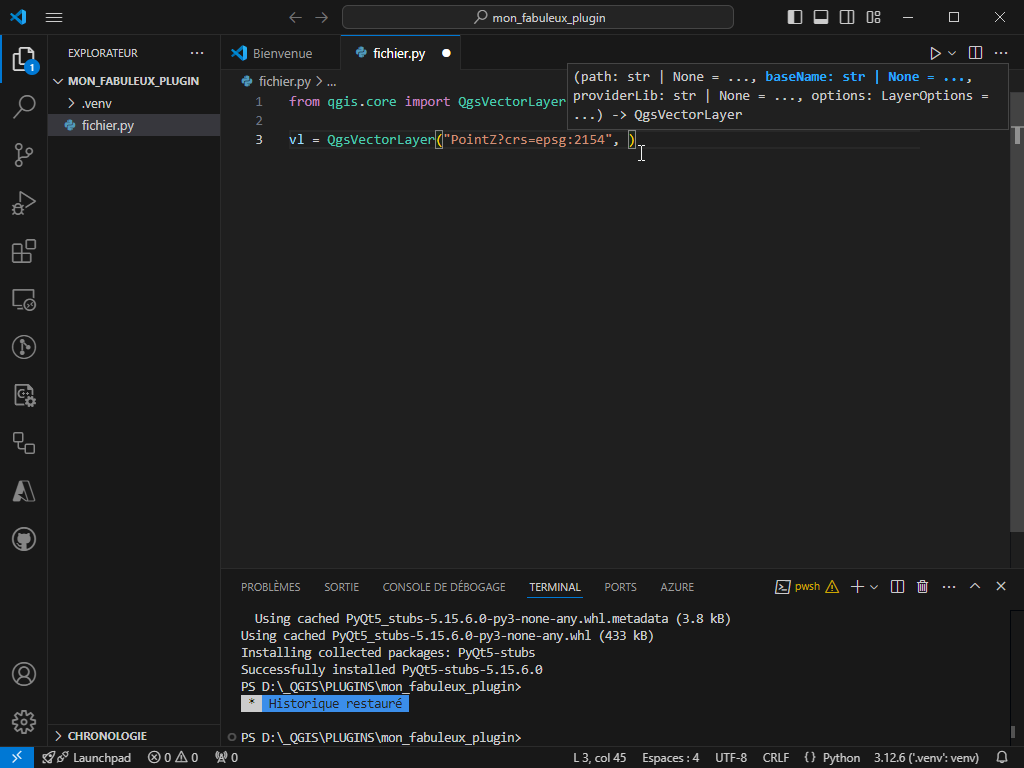
To also have all the completions related to PyQt, it seems necessary to install an additional Python library called PyQt5-stubs (although it is no longer maintained, it still works).
In the VS Code terminal, run the following command:
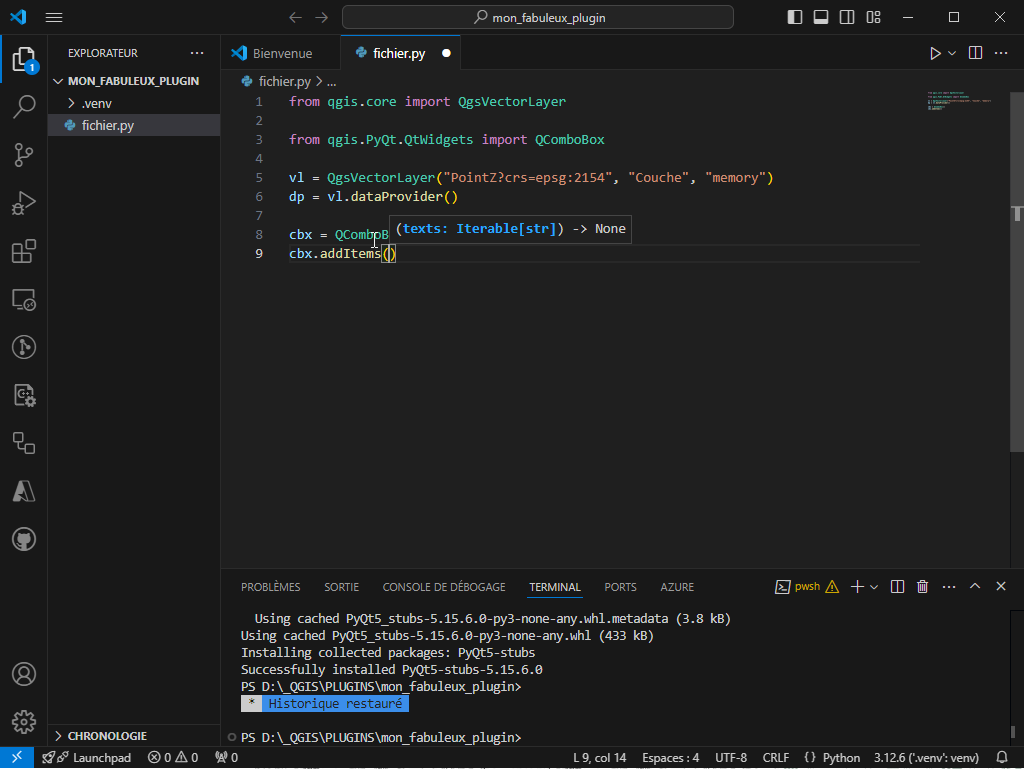
All of this just to have colorful code  !
!